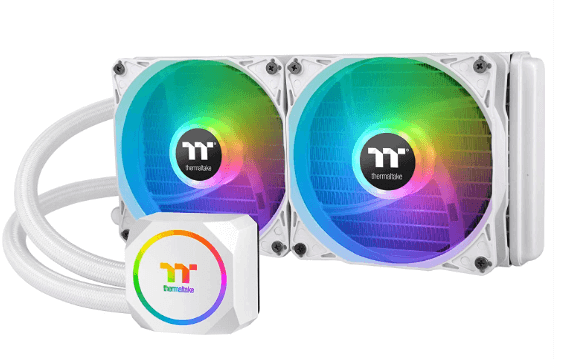
The motherboard’s CPU_OPT and CPU_FAN pin headers should be matched in orientation. Before attempting to connect the fan to the motherboard, you should align the fan plug’s groove with the pin header clip. Then, plug the fan connector into the pin header connection.
CPU_OPT
If you want to add an additional cooling system to your computer, you should consider using the CPU_OPT header on your motherboard. Most motherboards allow only one fan to be connected to the CPU, but you can use this header to hook up case fans or extra radiator fans on a liquid cooling system.
The CPU_OPT header is a 4-pin header that is connected to the white CPU cooler. You must connect the CPU cooler fan to this header, otherwise, your computer will not boot up. You can also connect the CPU-FAN header to multiple fans to power them simultaneously.
The CPU fan header is located on the motherboard and should be plugged into the CPU. Having it connected will prevent overheating. This header is also optional. You can also connect the CPU fans to a fan hub.
CPU_FAN
CPU_FAN, or CPU fan header, is the primary connector for fans on a motherboard. The CPU fan is usually connected to this header by a wire. If this connection is broken, the PC will shut down. This header is located near the CPU socket.
A CPU fan is an essential component of your computer, as it helps maintain the proper temperature in your internal hardware. If this component is not functioning correctly, you could experience many problems. A CPU fan that does not run properly could cause the system to malfunction or even fail to boot.
Thankfully, most motherboards come with a 4-pin CPU fan header. You can use these to adjust the fan speed and temperature. Most motherboards include a utility that can help you set these parameters.
RGB fan
Once you have purchased an RGB fan, you will need to know how to hook it up. The fans will usually come with two cables – a small cable that controls the motor, and a wider cable that controls the RGB lights. You will need to know which connector goes to which port on the motherboard. You should also know how to hook up the fan motor to the motherboard’s fan header.
First of all, you need to determine the motherboard’s RGB fan support. Check the motherboard’s user manual to find out whether it supports RGB fans. If so, you will need to find the RGB fan headers, which are usually labeled RGB_Header1, and RGB_Header2. Many motherboards only come with one RGB header, while high-end motherboards usually have multiple headers.
PSU to fan pin header adapter
Most motherboards have a 4-pin fan pin header. The 4-pin header is used for fans that are not critical to the motherboard’s performance. In addition, there are 3-pin fan connectors that can be connected to the motherboard’s pin header. However, three-pin fans cannot be controlled as precisely as the 4-pin PWM fans. Also, a fan cable can obstruct airflow.
Fortunately, there are adapters that can be used to change the fan connector. These adapters are usually designed to fit between two types of fan connectors. The 3-pin header has power and ground pins and an RPM sensor. The 4-pin header has an additional pin for PWM, which adds speed control to the fans. PWM can be enabled through the BIOS or by third-party software.
LED fan
There are several options when it comes to hooking up LED cooling fans to the Motherboard. You can choose between static RGB fans and digital ones. The static RGB fans only need to be connected to one RGB header on the Motherboard, while the digital ones require two.
You can hook up these fans to your motherboard using three-pin DC fan connectors, four-pin PWM connectors, or Molex connectors. The LED fans will typically come with a single cable for power and will connect to the motherboard’s System Fan Headers. There are usually four to five of these headers on the Motherboard, which are designed to power case fans. The headers are marked with a 4-pin header.

